What are some tips for taking beach photos?
- Take Advantage of the Golden Hour
- Capturing the Perfect Silhouette
- Look for Focal Points
- Slow Shutter
- Bracket Your Shots
Make the most out of your vacation at Batangas with beach photos of your family, friends, companions, and of course the stunning scenery. Regardless of whether you are using a digital camera or your smartphone, take note of these tips that will help you capture nostalgic moments. From playing around with your camera settings to silhouettes and the golden hour, learning the basics of photography can take your vacation updates on social media to a whole new level.
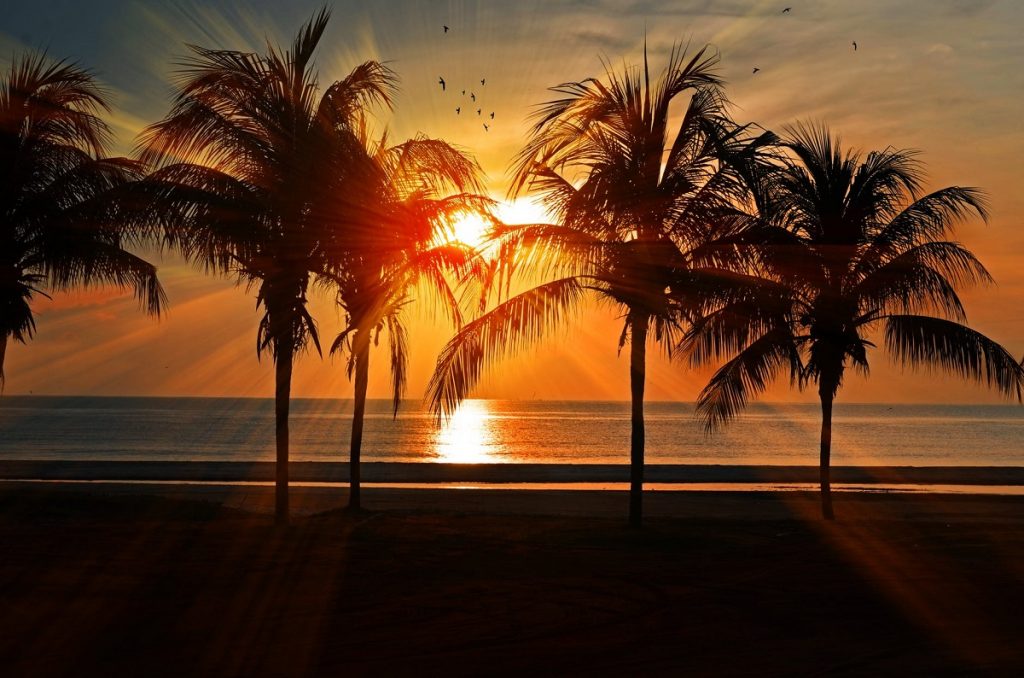
Take Advantage of the Golden Hour
Golden hour begins shortly after sunrise and before sunset. Also called the magical hour of the day at the beach, it is when your sun-kissed skin turns the color of the sky. Portraits and even landscapes taken during this hour of the day at the beach almost instantly radiate positive energy. The golden hour is the most important time to take photographs as skin tones look better. Regardless of whether you are at the beach or in the city, the sun is the most magical during this hour. Take advantage of the scenery. Look for the sun and face its direction. Have your photographer stand in front of you with their back in the sun. Be aware of the photographer’s shadow as it can accidentally be captured as you take your golden hour shot.
Capturing the Perfect Silhouette
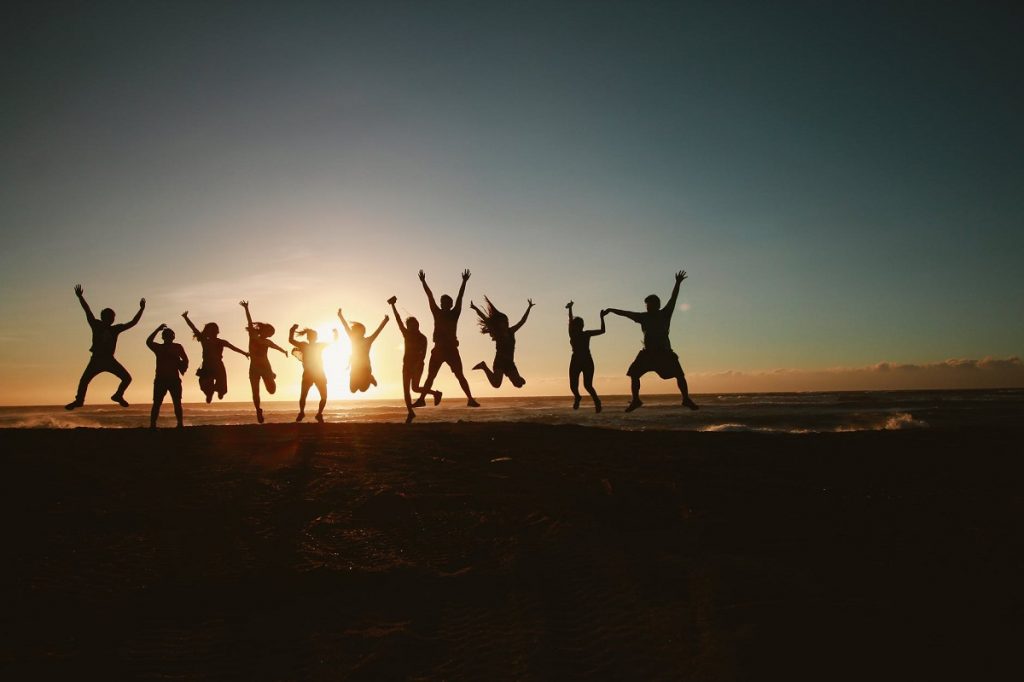
Once you are satisfied with your frames facing the golden sun, try a silhouette shot. Switch places with the photographer. You must have you back at the sun and the photographer should be the one facing the sun. Wait for the moment when the sun is almost touching the horizon. Once the sun is almost setting, use what is left of it as your backlight. The landscape frame is most recommended as it will capture the seascape and the wide space of the beach as well as the sun as it slowly fades. To capture the perfect shot, you need to set the exposure of the camera according to the lighter part of the scene which is the background because you would want to make the subject dark to create the silhouette effect.
Look for Focal Points
The beach is filled with photographic opportunities for eyes that see beyond cliché shots. As a photographer, take a step back. Observe your surroundings and find a focal point. It could be shells that formed up naturally, footsteps in the sand, a couple enjoying the few moments of the sun, or even a dog resting near the shore. Avoid common mistakes like missing focal points with beach landscape photography. The reason why some people think all beaches look the same, with a sea, sky, and sand, is because they fail to recognize the little details lying around. You can create a whole new story by introducing a focal point in your frame.
Slow Shutter
That blurry shot of the waves of yours in your camera was not a mistake, that was perfect timing. Your camera was probably in automatic mode and you caught the movement of the waves exactly when it was still for a split second. To create movement, blur lines, and make the water look like it is gliding as it hits the shoreline, you will need to drop your camera’s ISO down, increase the aperture and level the exposure at least +0.3.
If in case the settings provided do not work well with your camera, feel free to adjust until you are satisfied with your frames. Take note of the levels in each setting. The ISO must be lower than the aperture and the exposure remains balanced with the brightness of the surrounding. The purpose of setting the camera this way is to keep the shutter open longer and give ample time for the waves to move through the image.
Bracket Your Shots
Bracketing involves taking multiple photos of the same subject with different camera settings. With this, you will end up with two or more photos of the same frame and only a slight difference in each one. Expect shots that are too dark, too bright, and a frame with the best exposure. Bracketing shots can also be done by focusing the distance, which results in one front-focused, another that is back-focused, and finally a frame that is accurate.
While this process is skipped by many professional photographers, as a beginner, you need to test your camera to learn the best settings depending on the time of the day. If you want to practice quick bracketing, do it during the golden hour. With limited time, you will be forced to think and act quickly. By practicing, you might capture a great photograph.
Key Takeaway
The time of day does not matter when you are at a Batangas beach, your photos will remain magical! The picturesque scenery of the seascape, the wide horizon, and the shoreline are always camera-ready. When the time comes that you get tired of taking beach photos, remember to step back and try to see the smaller and finer details. More importantly, do not spend the entire day shooting. Make sure to enjoy the time with your loved ones. Practice taking one great picture. A picture that can sum up your entire vacation.